Renovating the outside of the studio cottage was a labor of love that took place over several years. In fact, we entirely renovated the inside before putting the finishing touches on the outside.
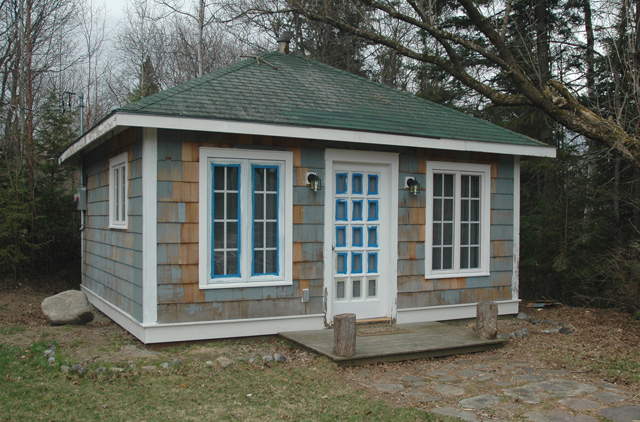
When we first bought the property, both cottages were in very bad shape. But the studio cottage was in extremely bad shape! With broken doors and windows, bad plumbing and electricity, we had to redo the whole thing and were basically left with just the frame to work with.
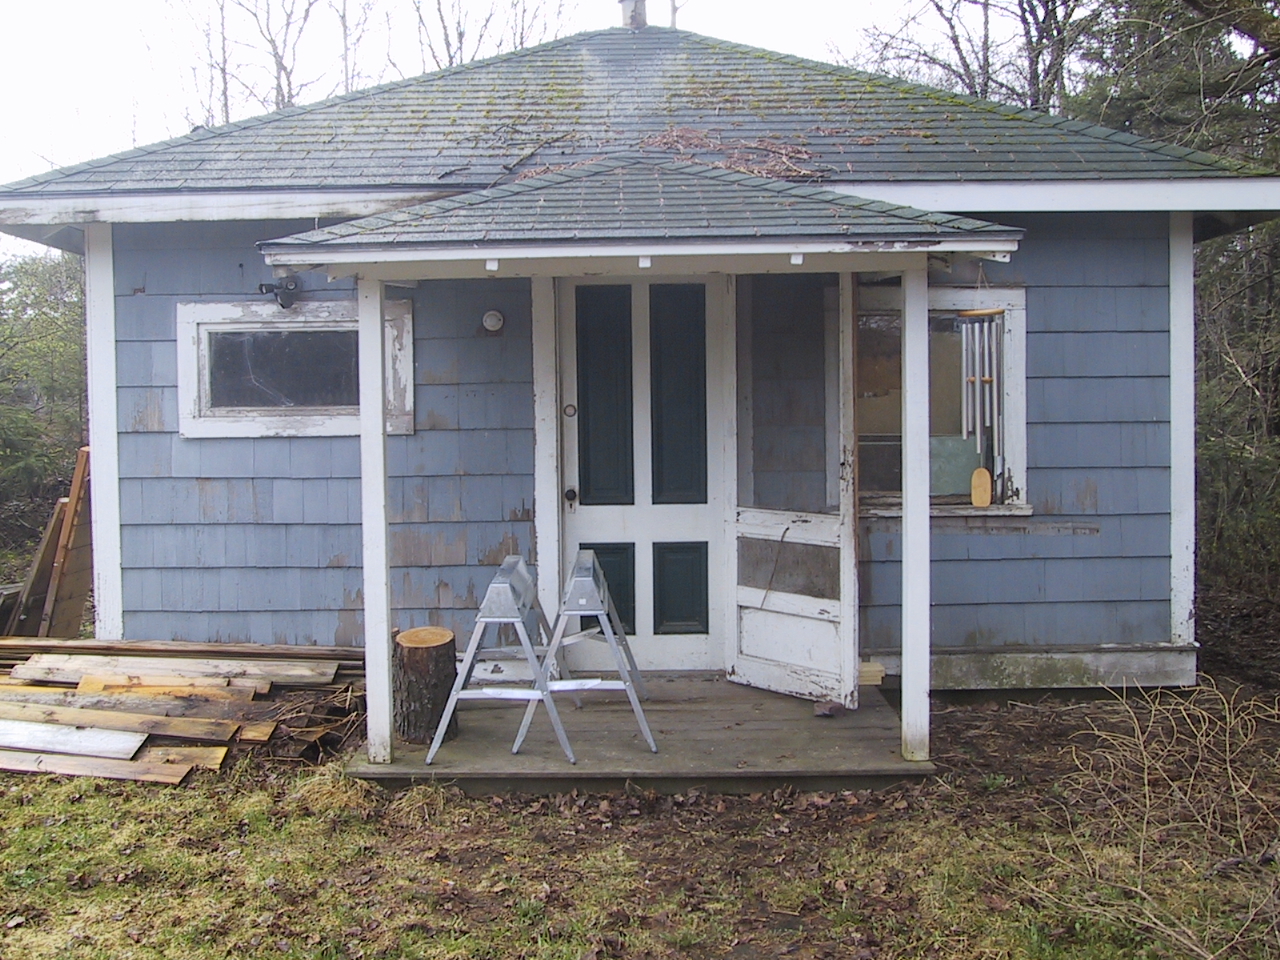
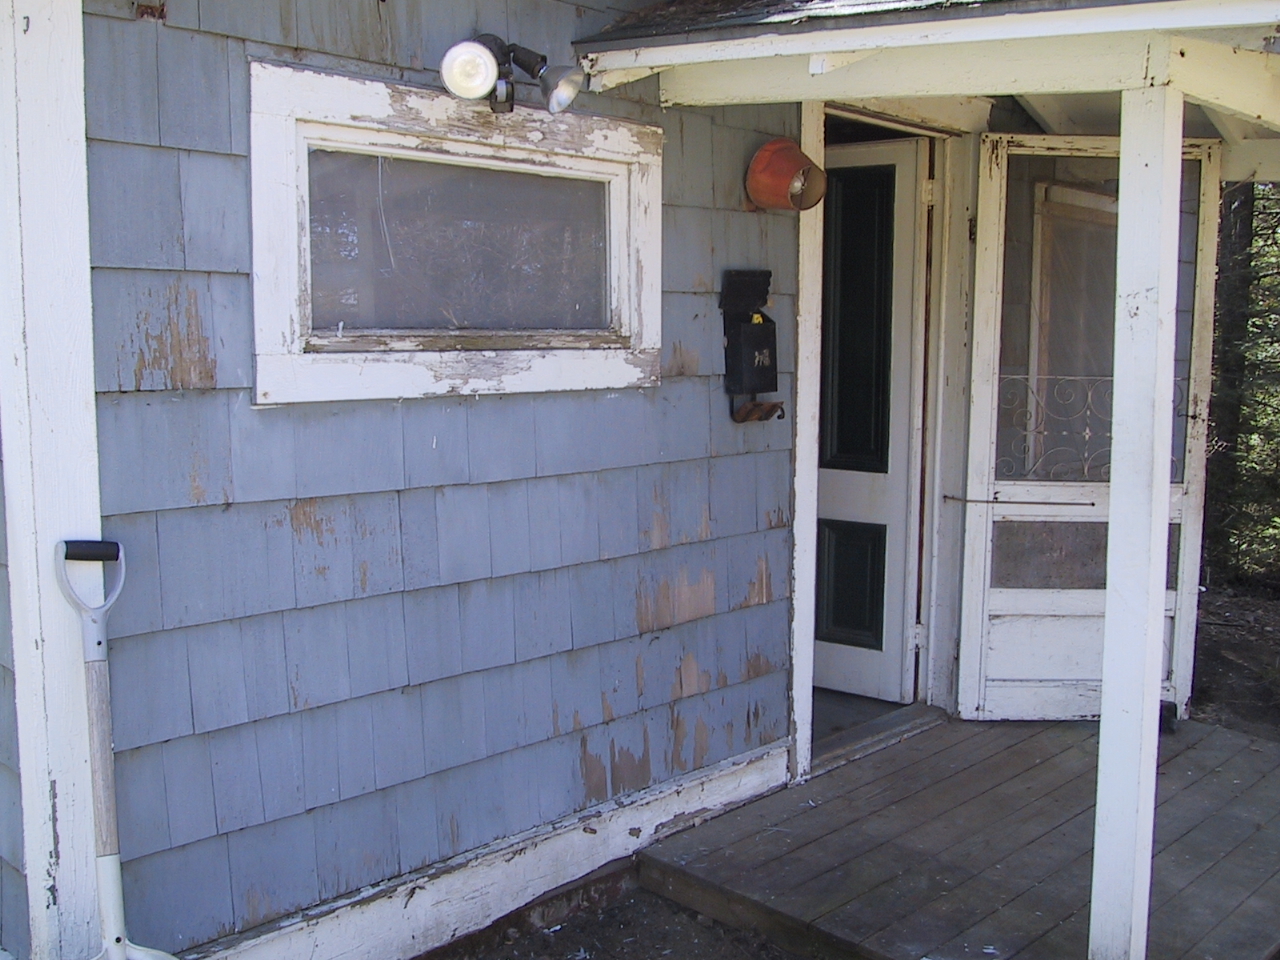
First, we took off the awkward awning that had hung over the door and closed off the cottage. This was a tough job because the bolts were rusted and stripped, and the awning did not want to come off. But after a few hours of wrestling with it, it finally fell off. What an amazing difference that made!
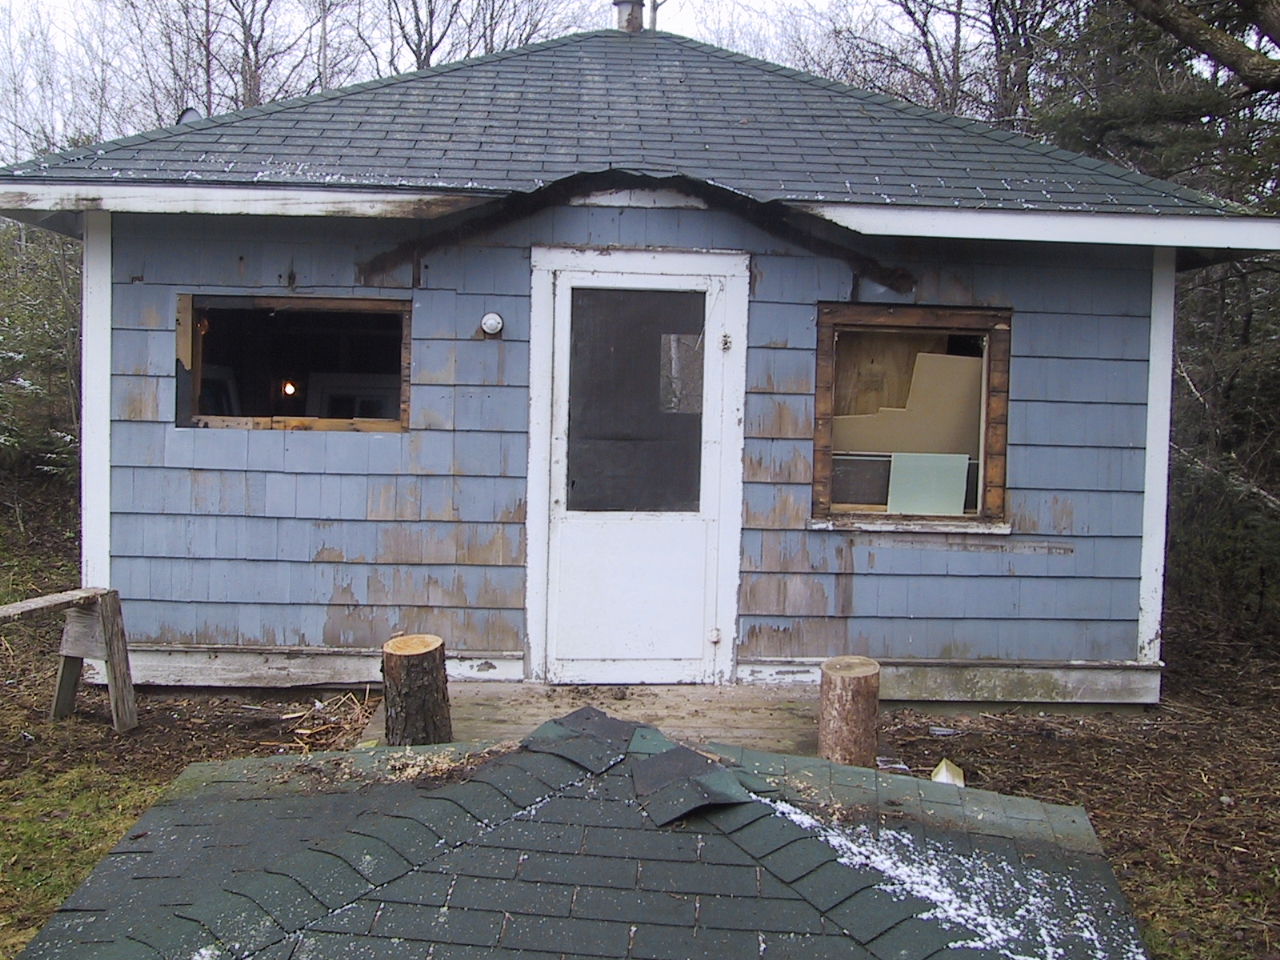
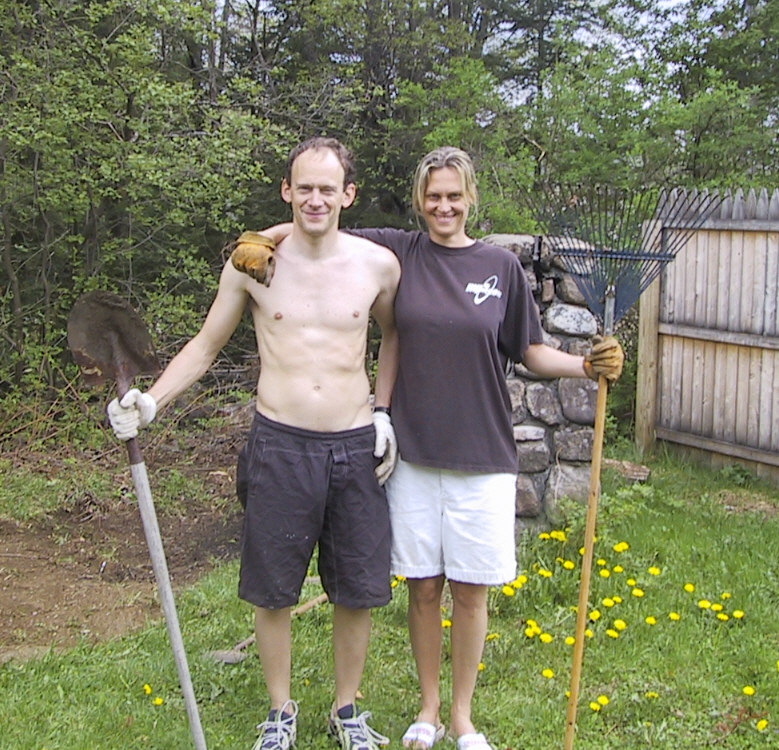
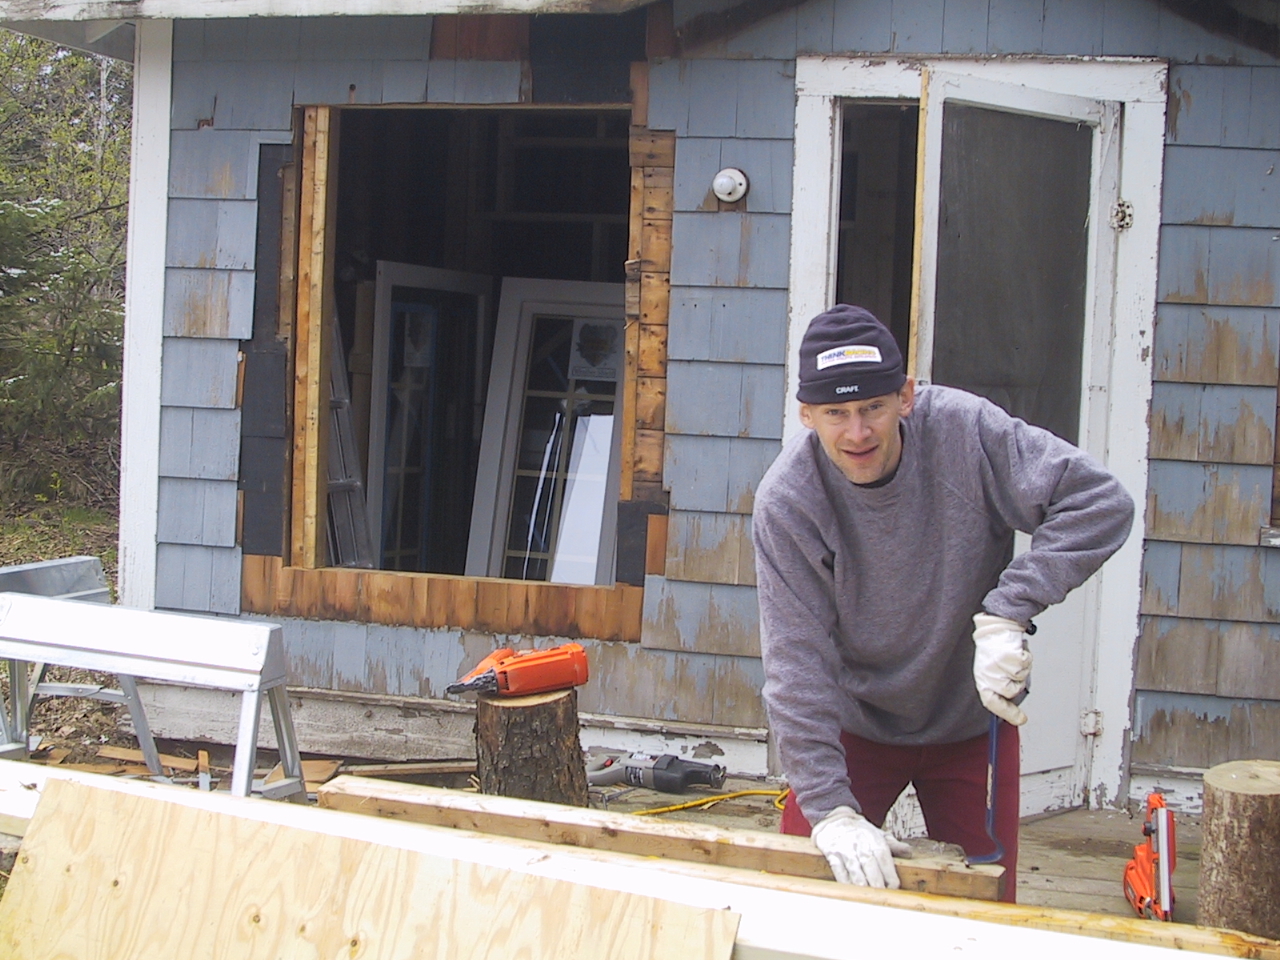
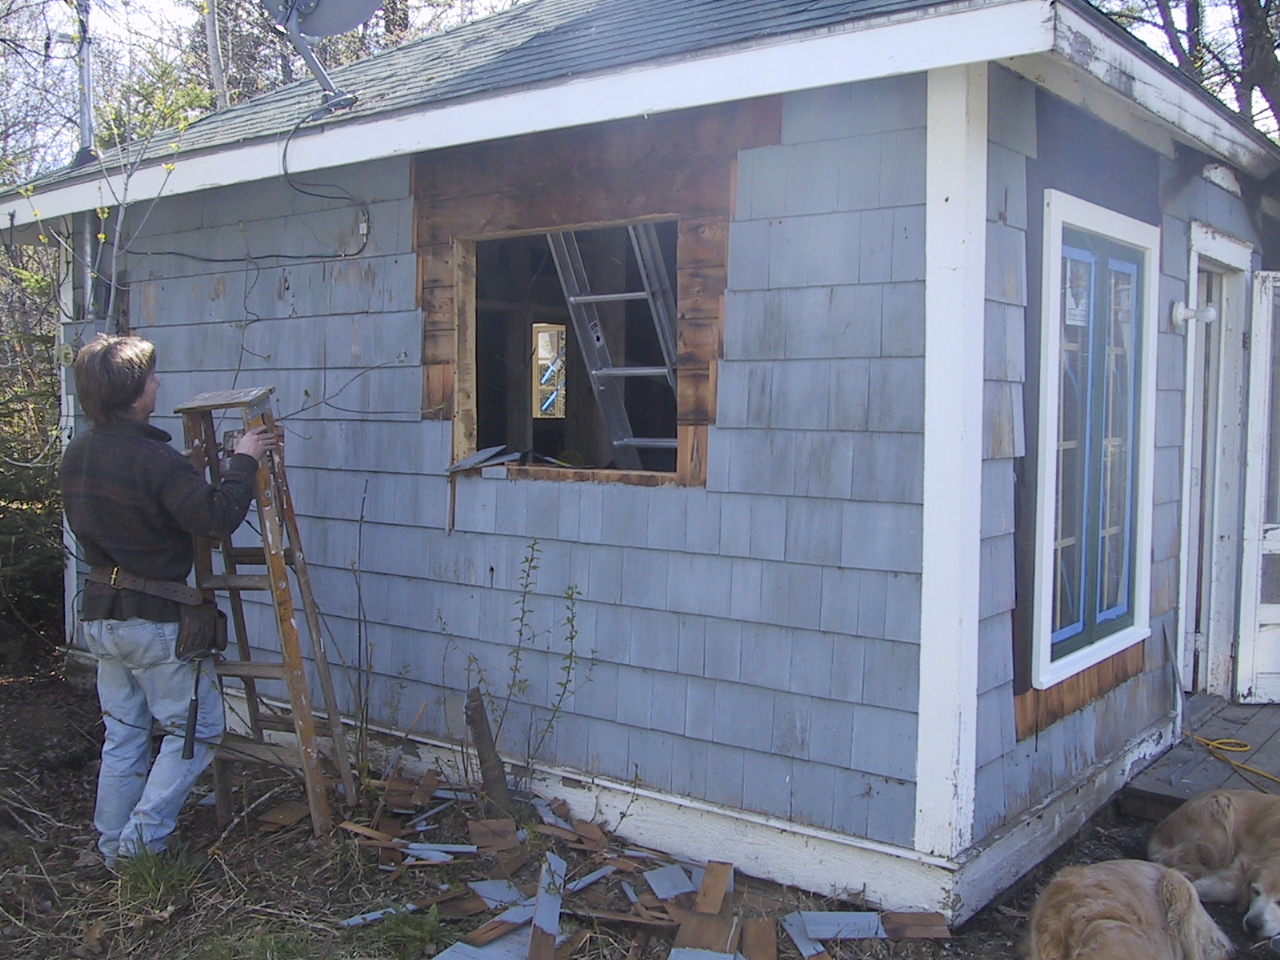
Next, we cut out four new window openings: two openings on the front, one for the kitchen, and one for the living space. This was so big a job that Todd, myself, Kevin, and Eric all worked on it. To learn how to cut out windows, take a look at this link.
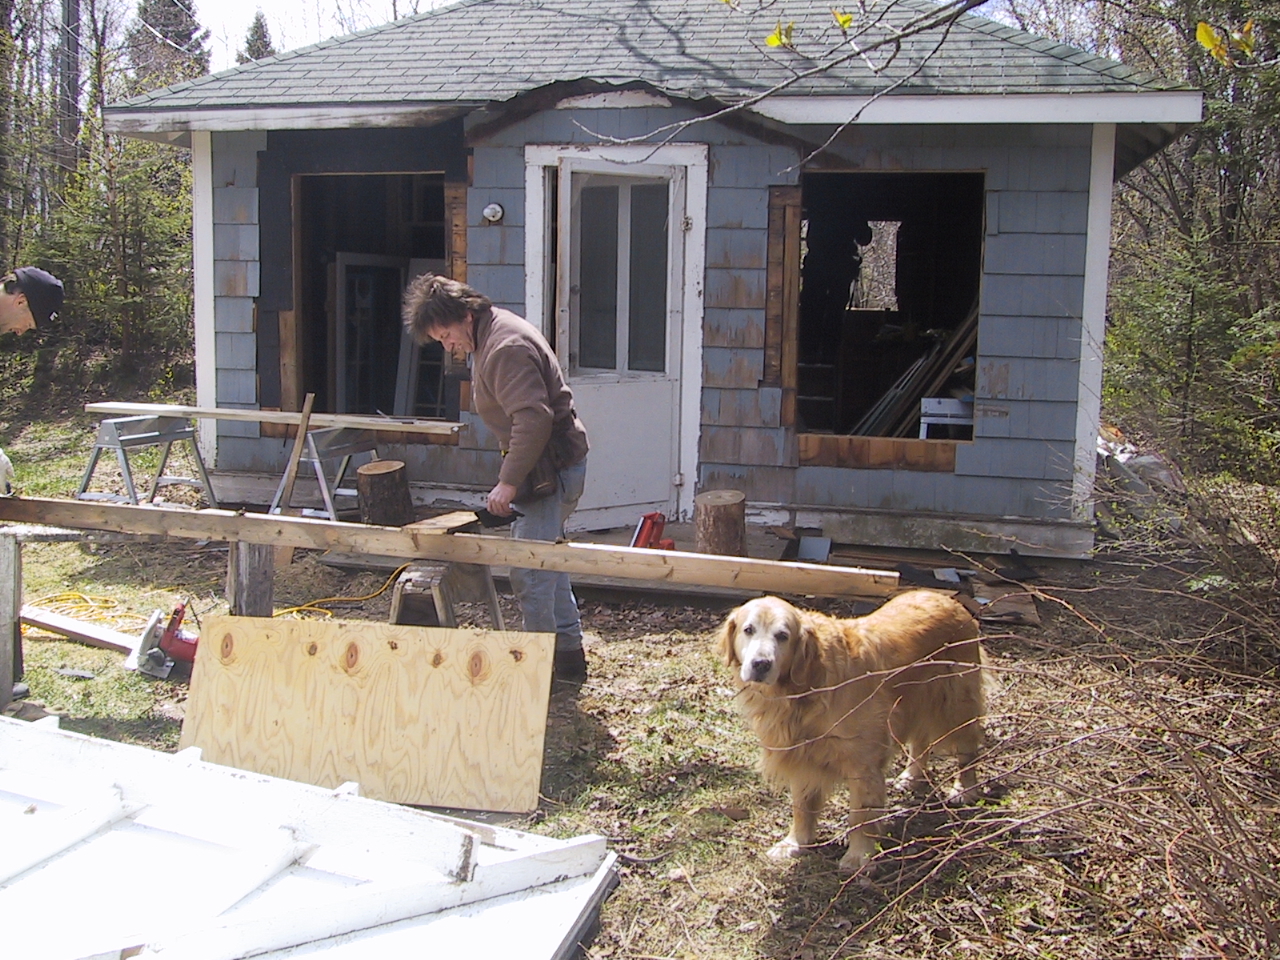
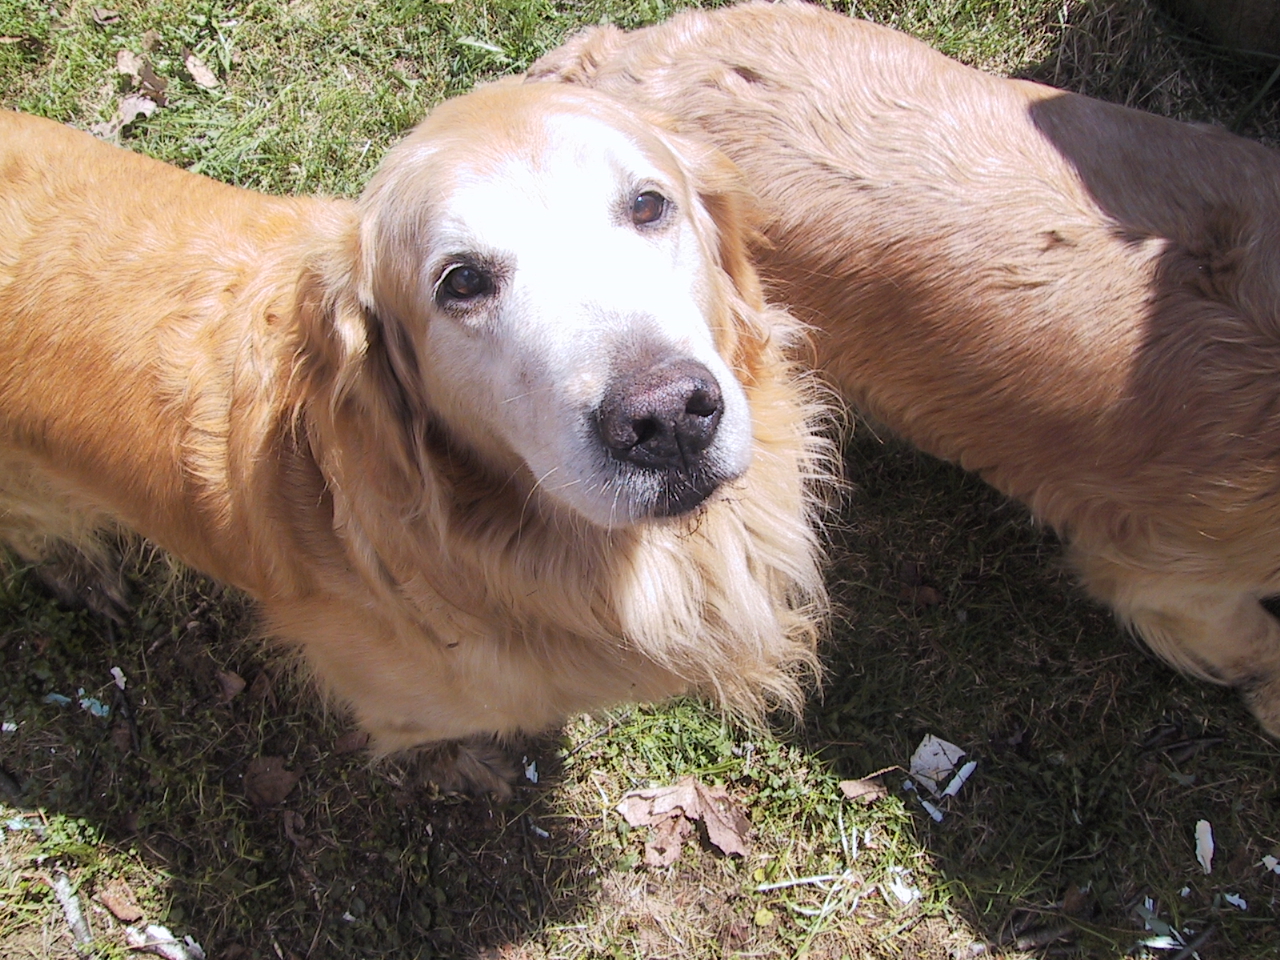
By the way, the golden retriever is Eric’s dog, Merlin. He acted as our CEO for the job! 😉
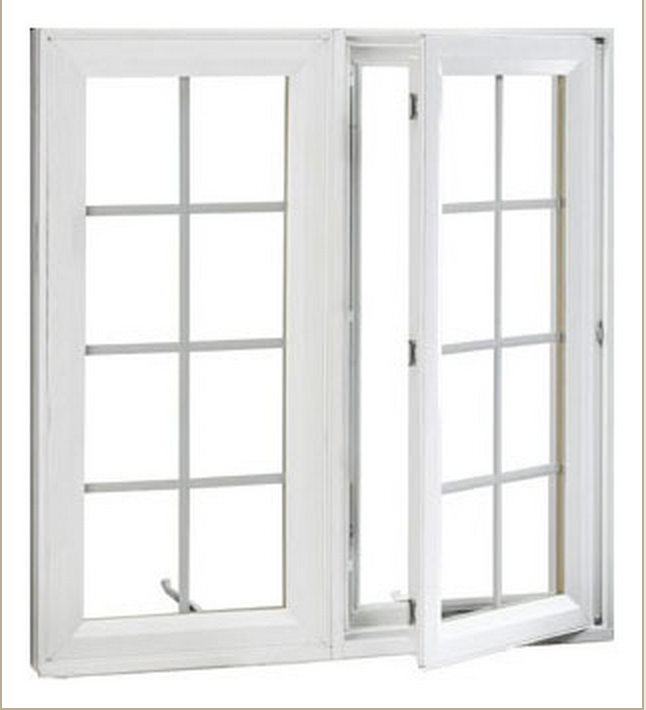
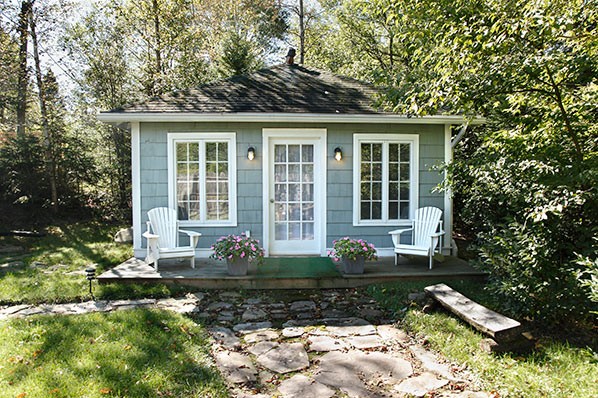
Once everything was cut, we were ready to put in our four new Casement windows from Hasleton Lumber that open from the inside. Check out this link to learn how to install new windows.
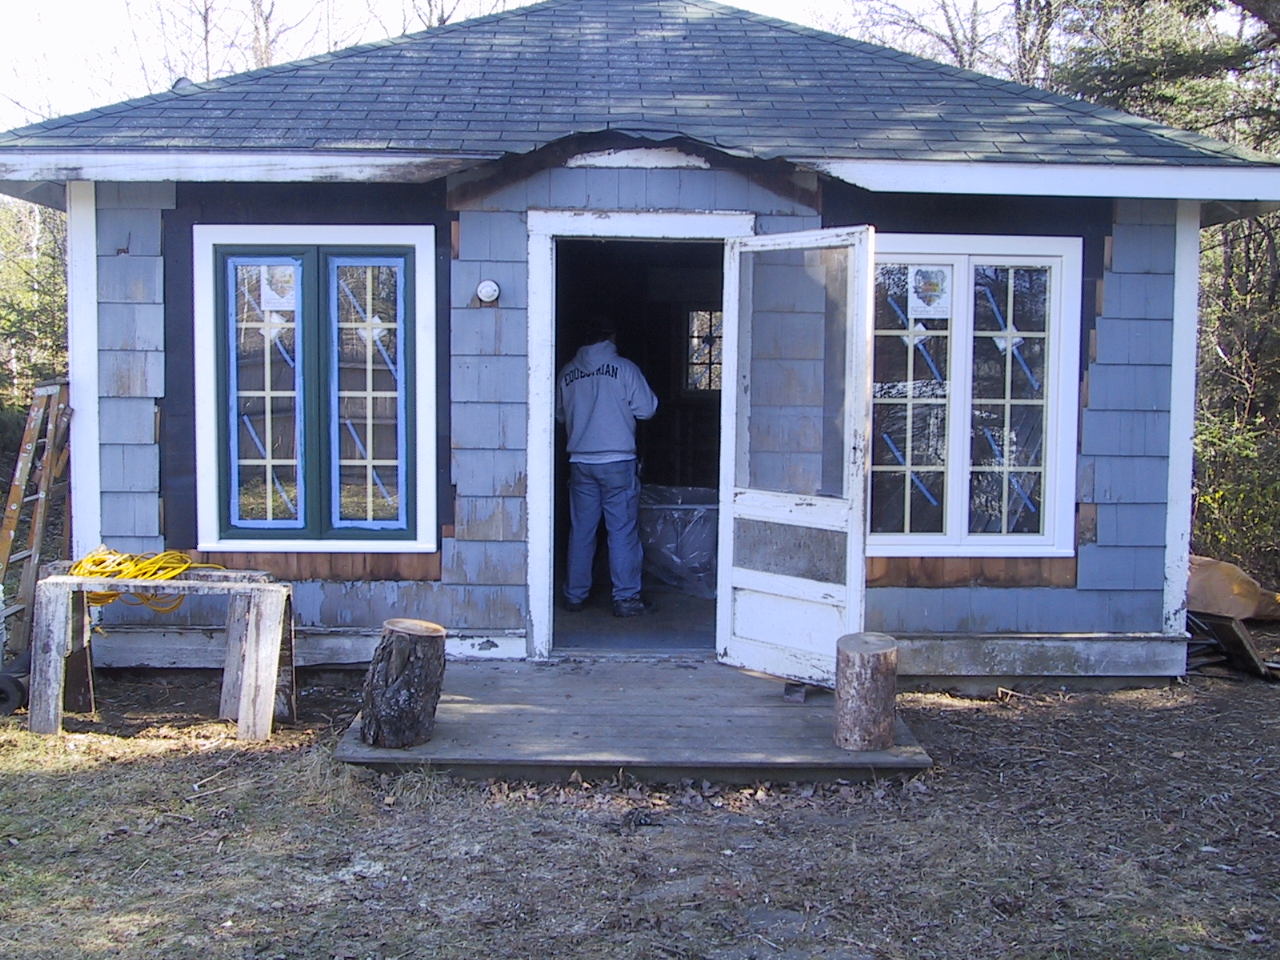

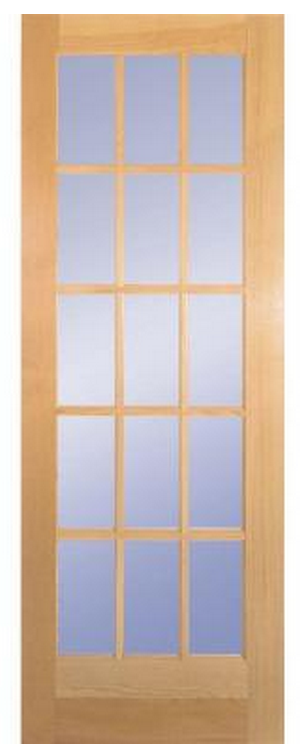
We also added a clear pine 15-lite french slab door from Home Depot. This new door was 5 inches bigger than the old one, so we had to cut a much bigger space for it.
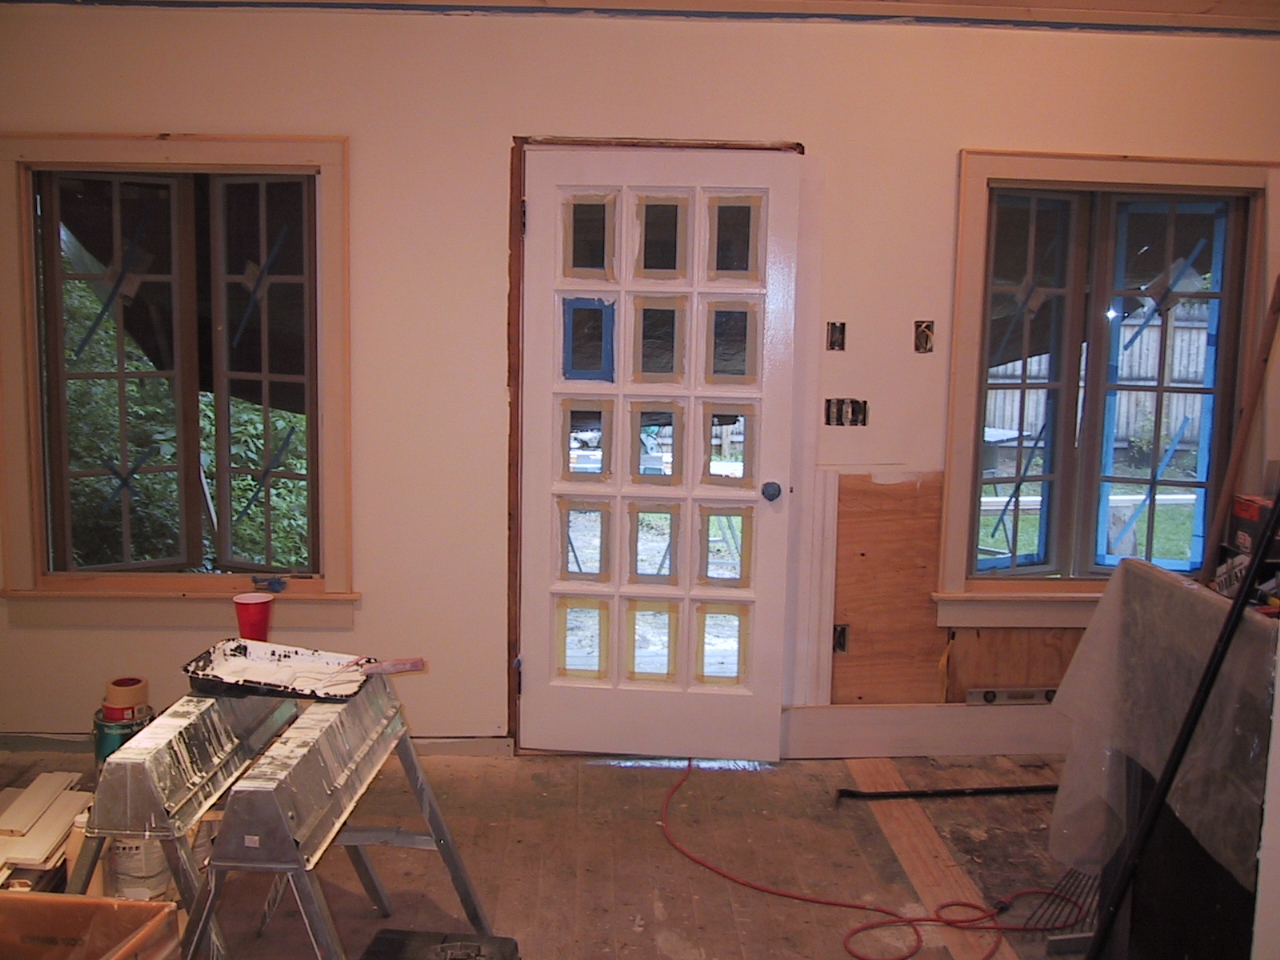
The casement windows and new door look just as beautiful on the outside of the cottage as they do on the inside. They open up the whole interior and bring in a ton of light that the studio didn’t have before we renovated it.
We also needed to redo the roof because it was misshapen when we removed the awning section. Renovating it was a whole separate entity that included a rusted cable dish, a tiny cupola, and about ten dead bats! More about that coming up in our next post.
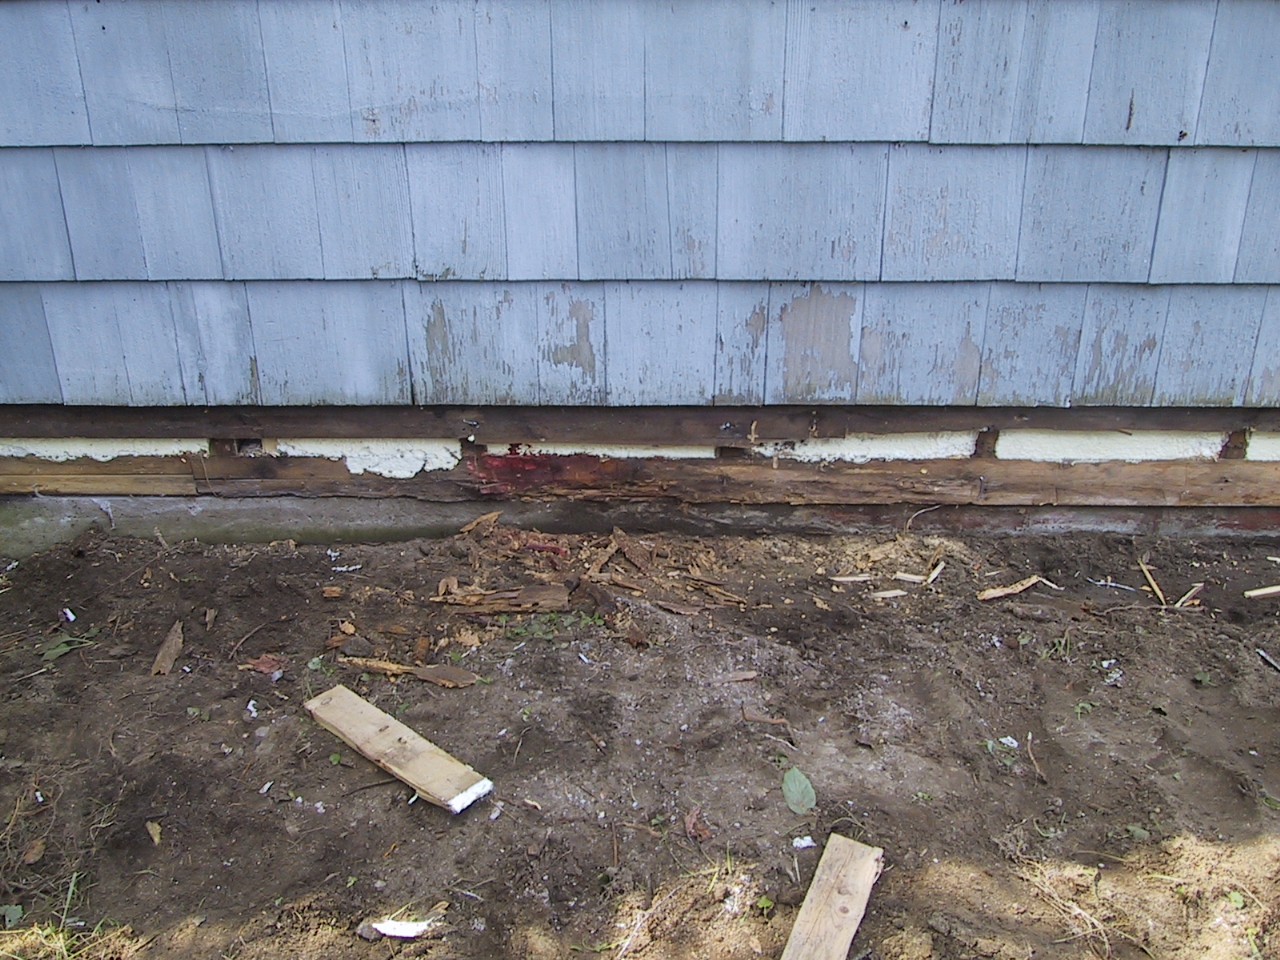
Once the roof was all set, we scraped, reshingled, and repainted the entire outside frame. We also had to replace the skirts that go all around the base of the Cottage.
The deck was the final piece to add on. It’s perfect for sipping drinks while taking in the Adirondacks scenery.
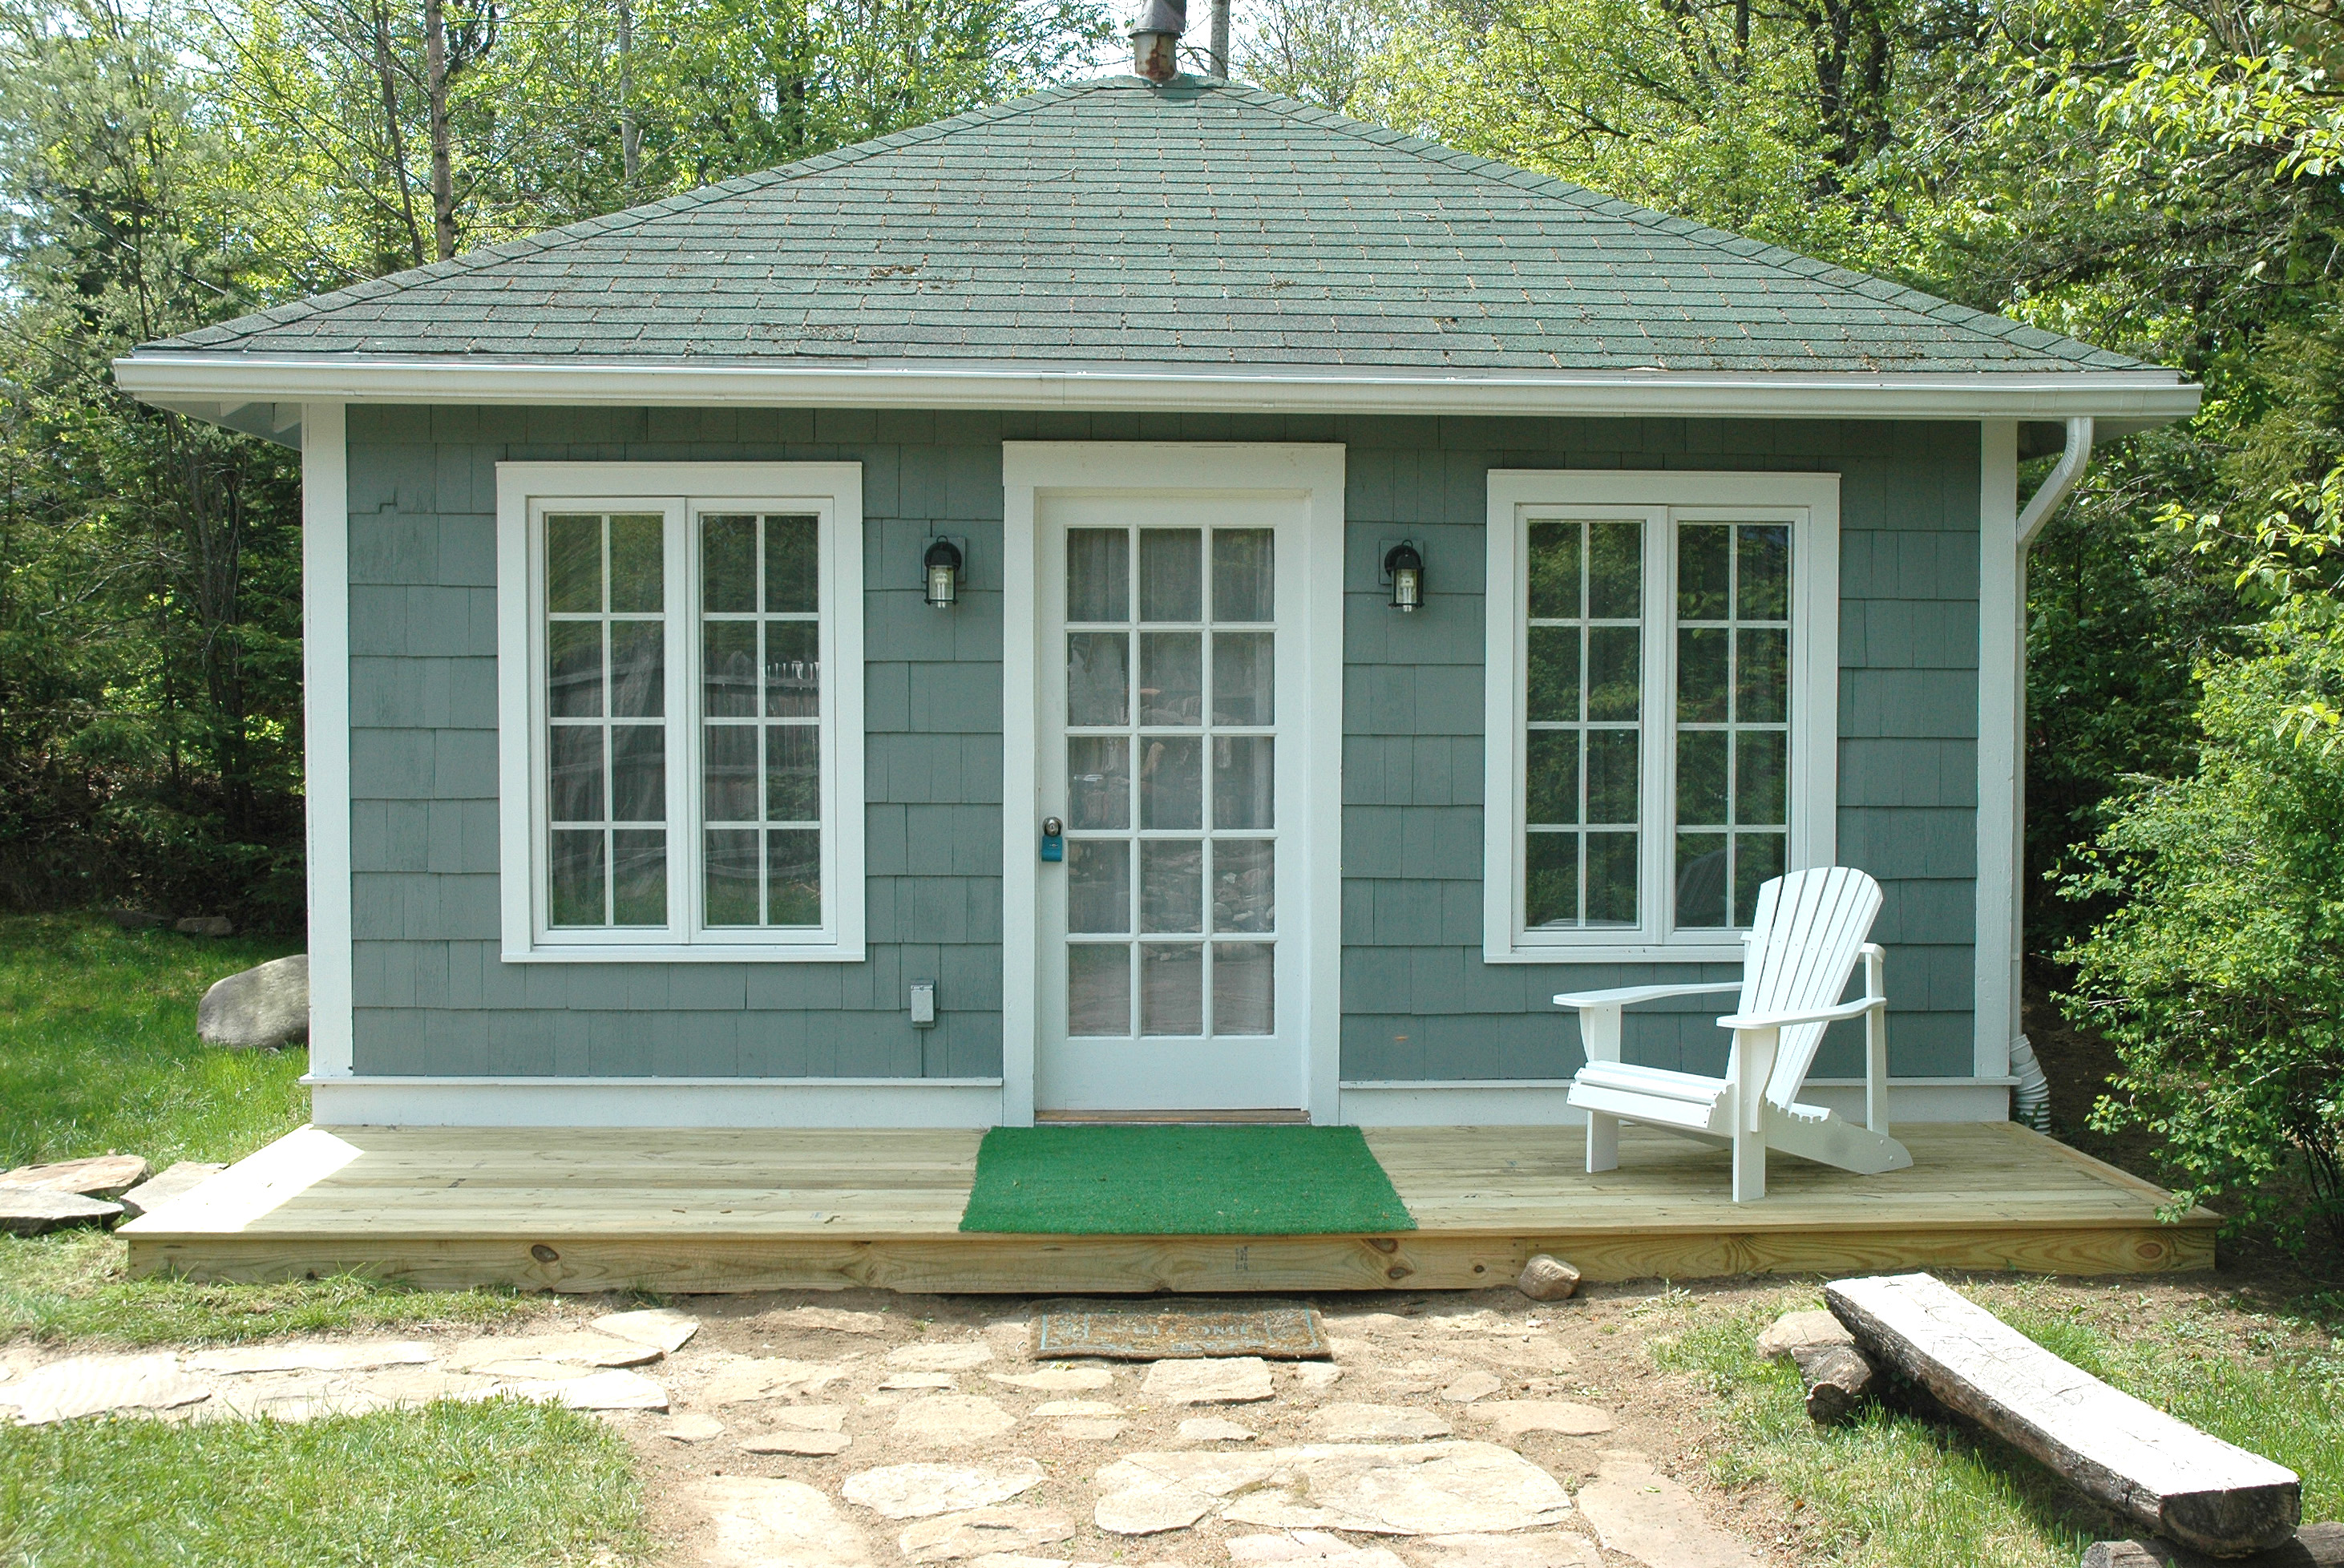
Re-routing the plumbing was a huge job in itself, and you can find out how we did it in our DIY Studio Plumbing blog post. You can also check out how we accomplished our flagstone pathway in more detail in the Building Our Flagstone Pathway post. It was a great design touch that added even more of a rustic feel to the studio and connected the whole property.
Restoring the exterior might’ve been one of our biggest renovation projects for the property. But it was truly great work, and we loved doing it!