
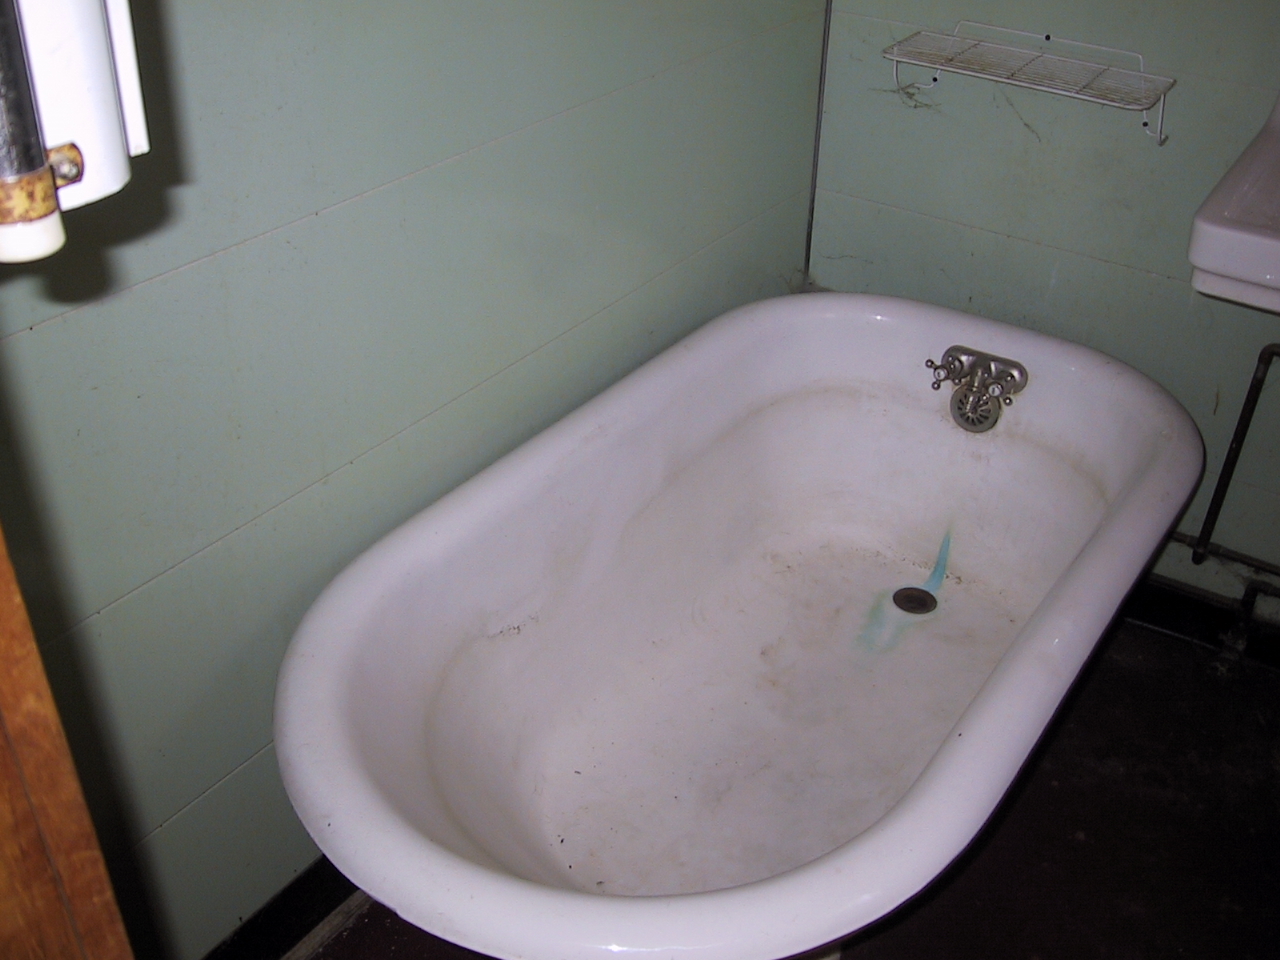
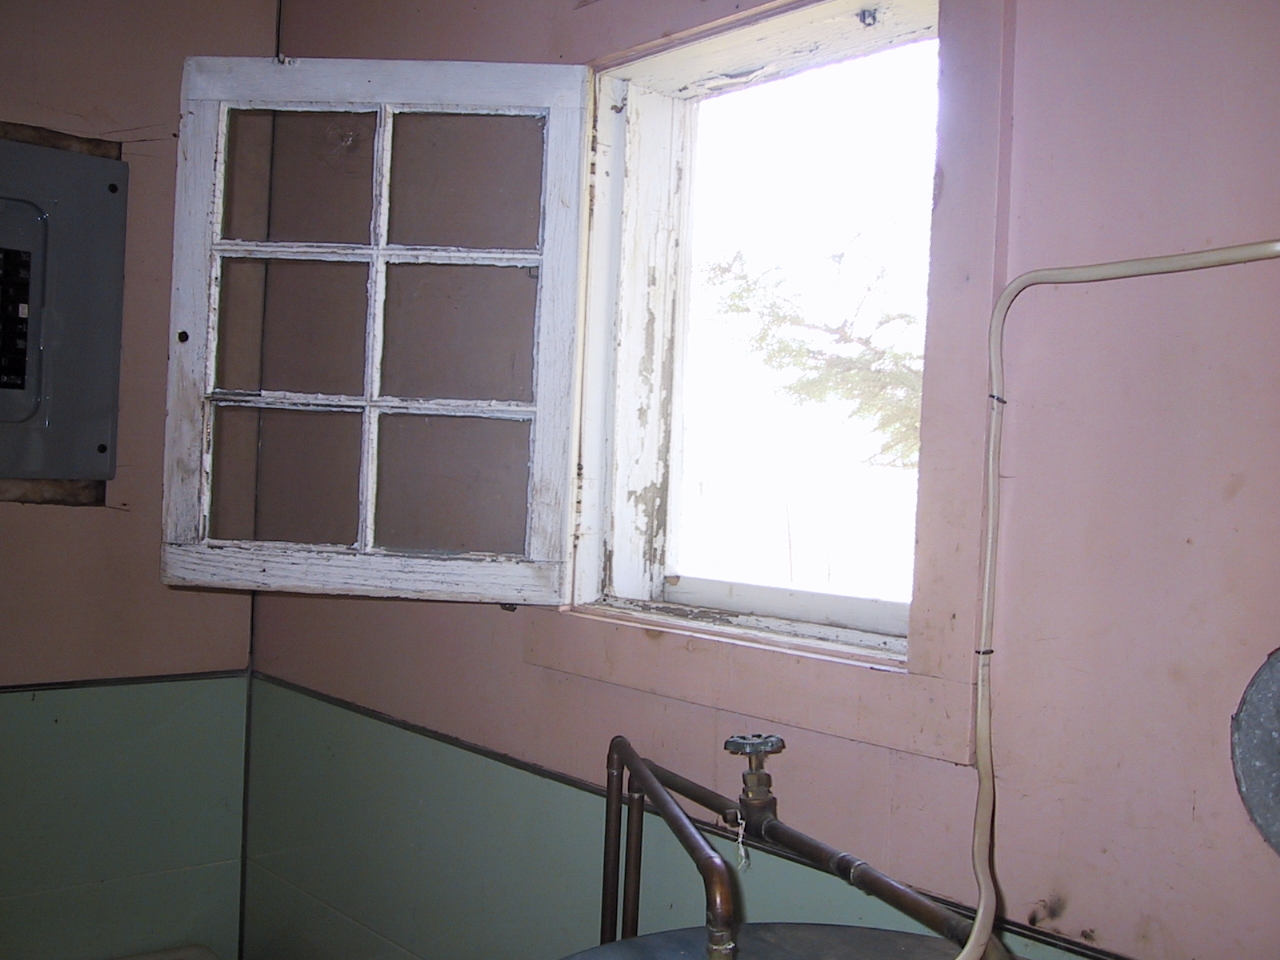
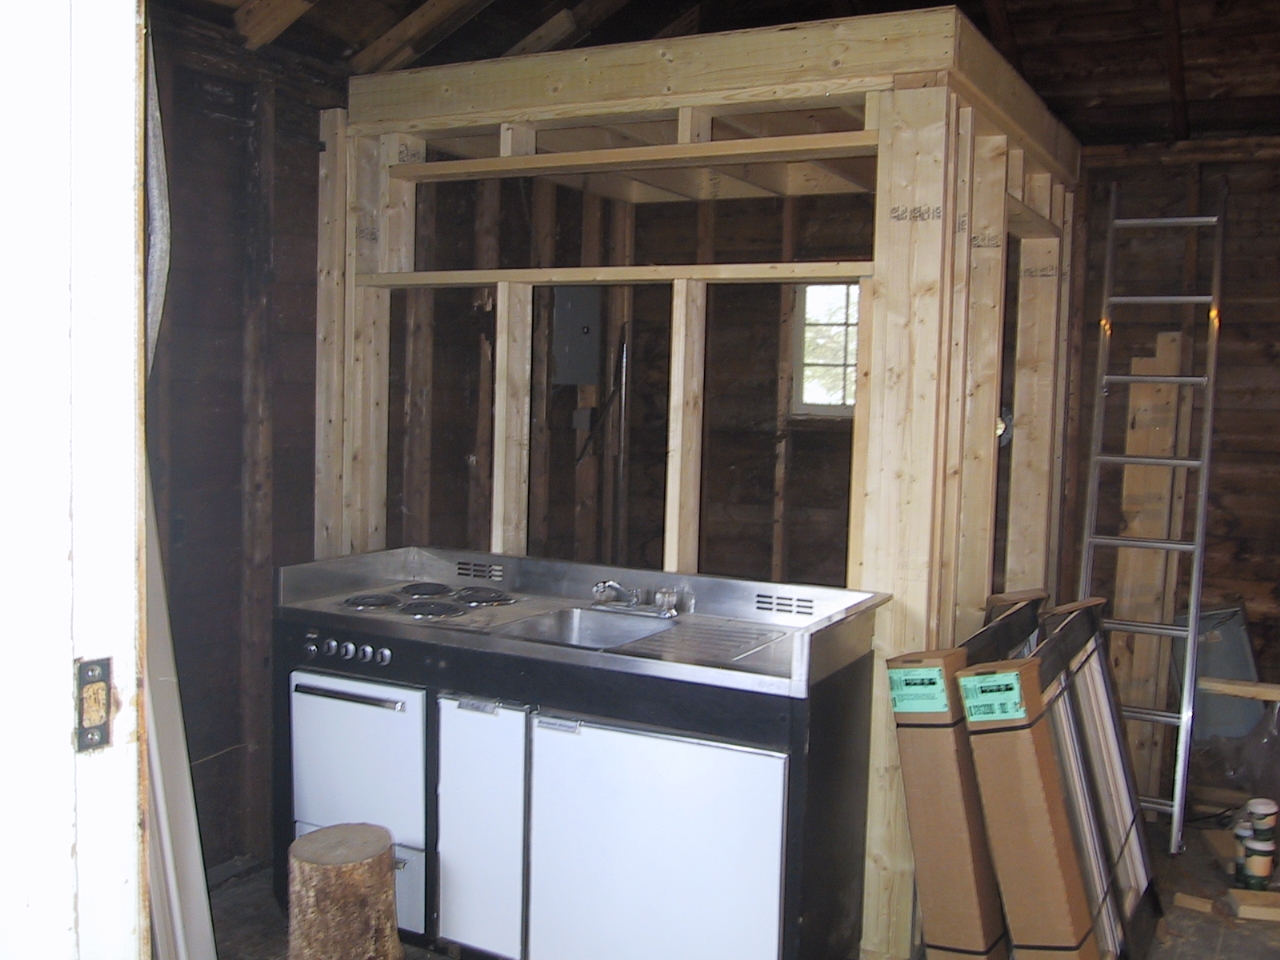
Building the bathroom in the Studio cottage was another total gut job. From the plastic green and pink walls, to the beat-up old window, to the disgusting, bulky tub, to the rotted-through floor — everything needed to go.
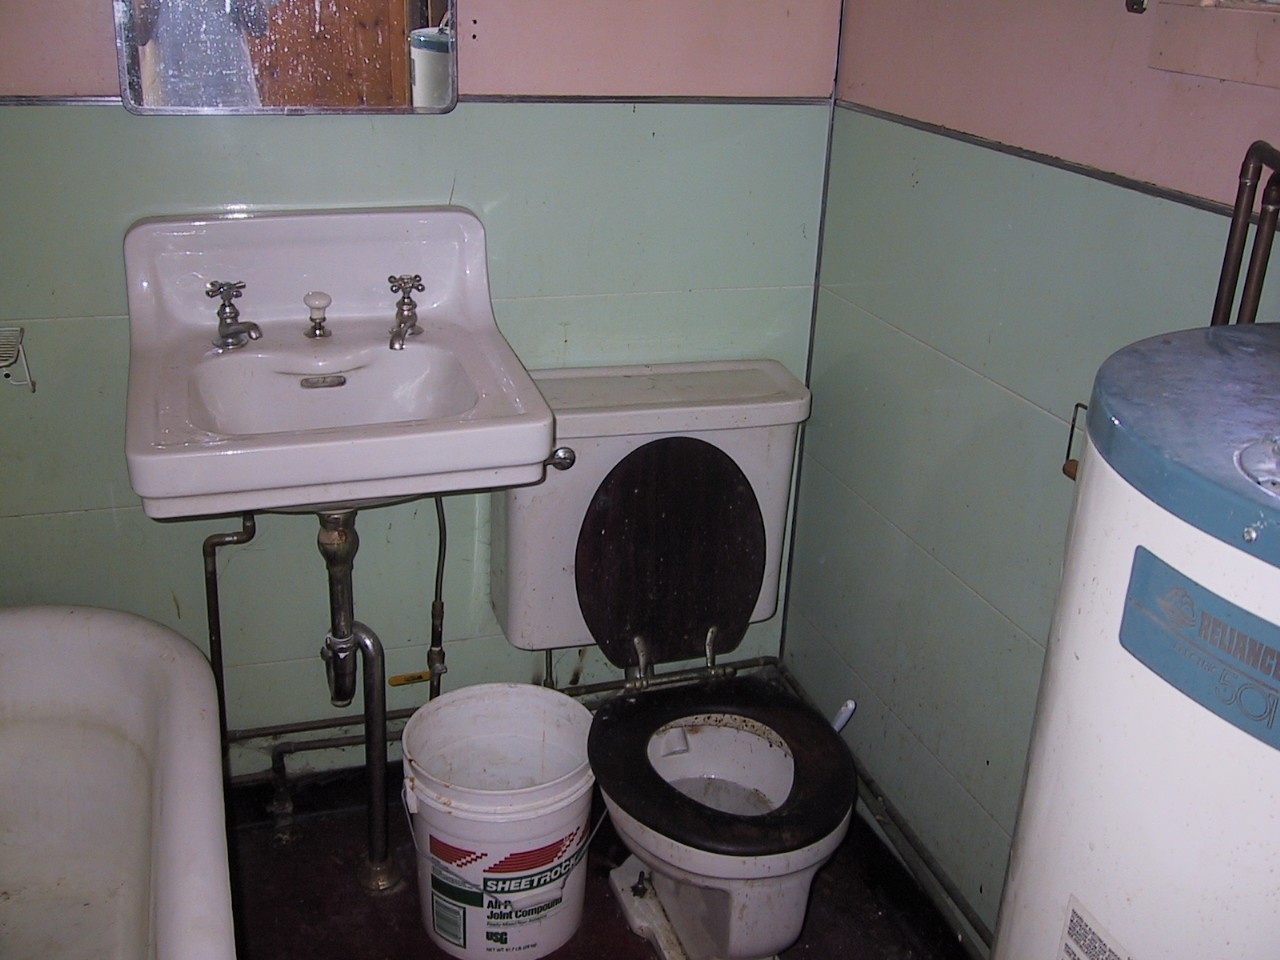
We started by clearing the whole space out, including removing an enormous hot water heater. We took out the electrical system that had been in there and moved it to the main room. After stripping the existing structure down to the rafters, we put up all new framing.
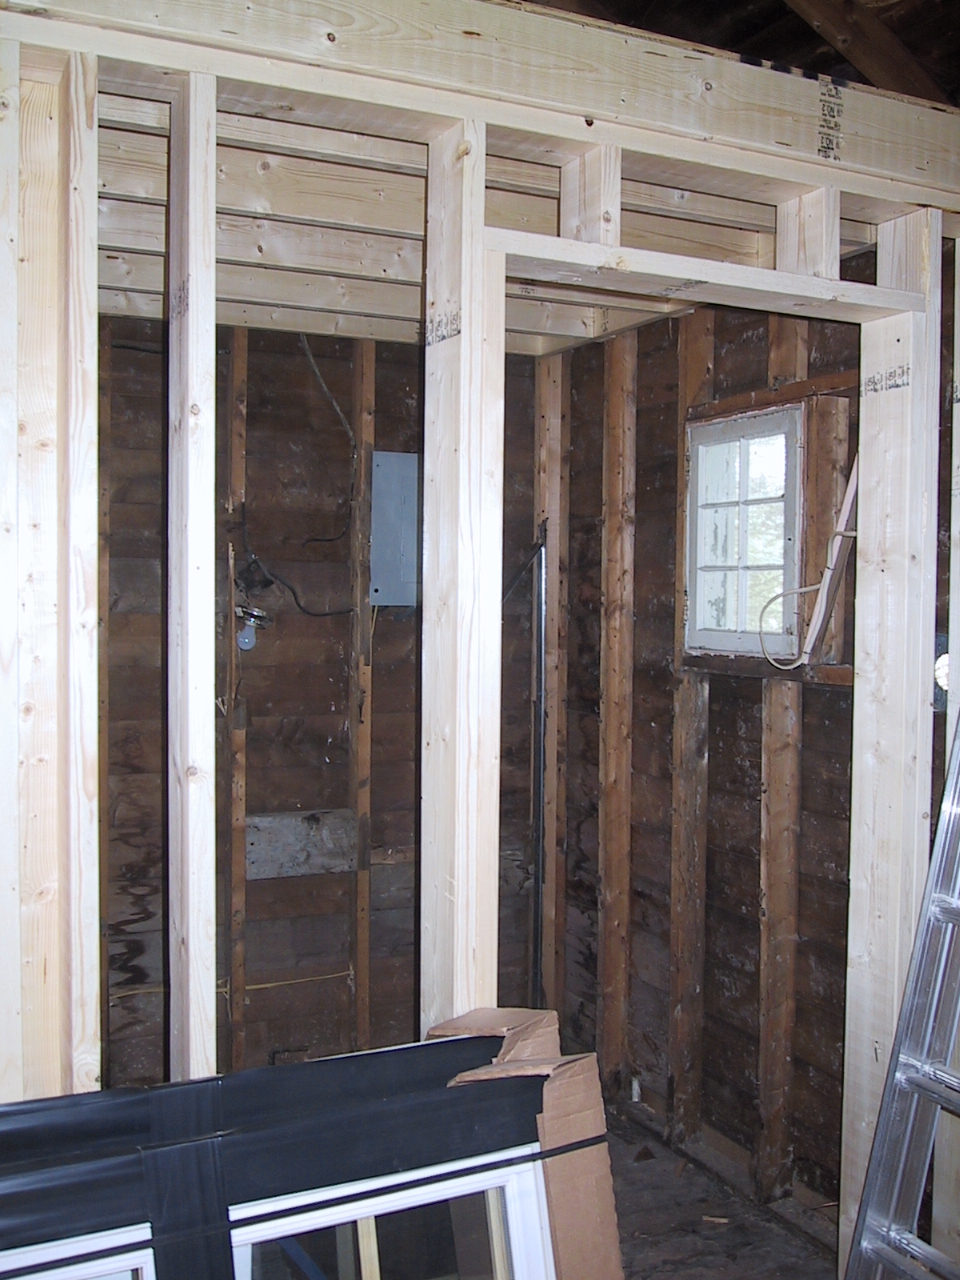
Todd had a great idea to add more light to the bathroom by including little slit windows on top of the frame, all around the structure that bathroom and kitchen shared. This gave the bathroom a ton of additional light.
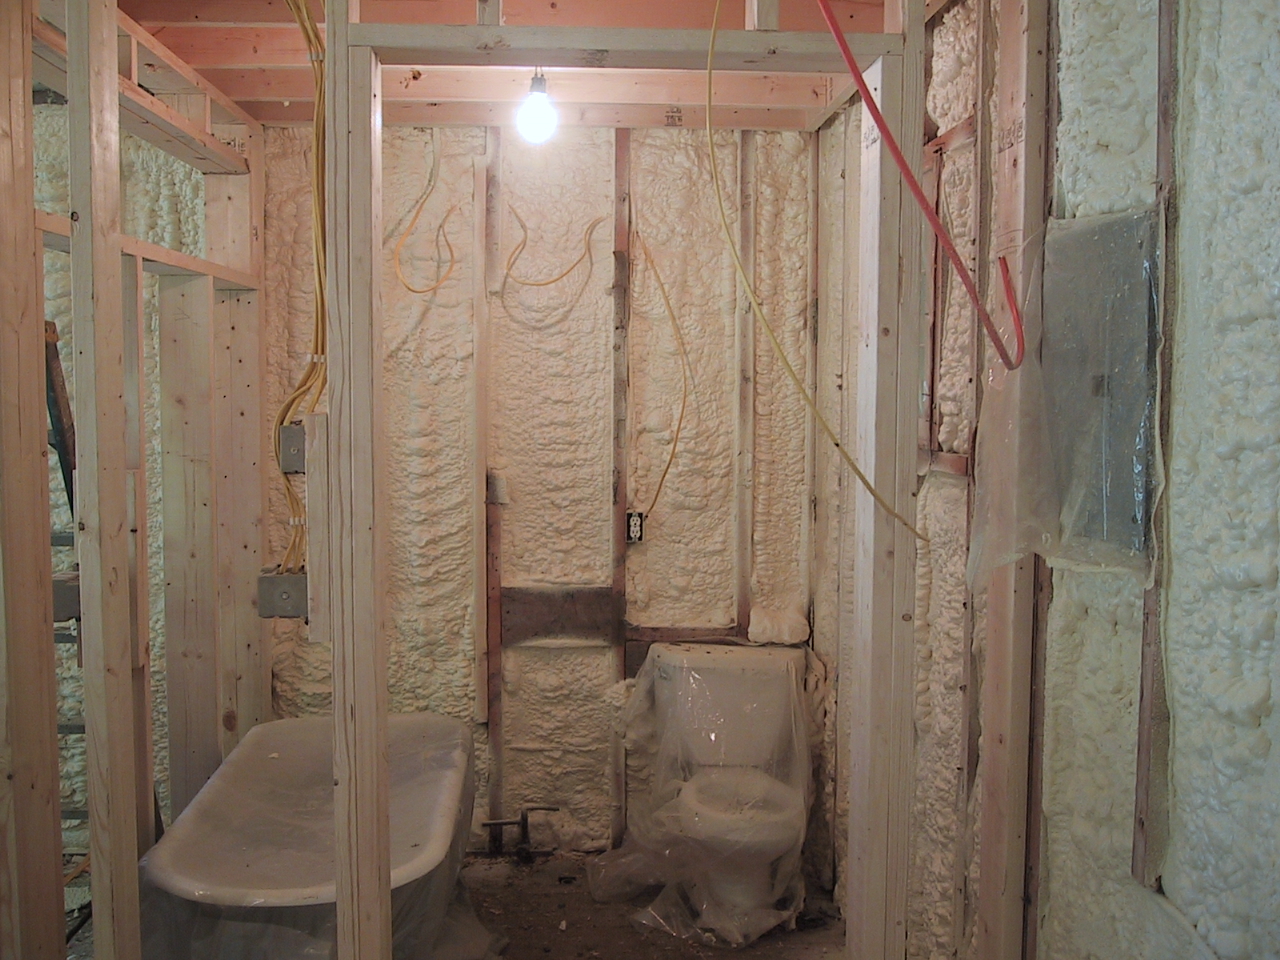
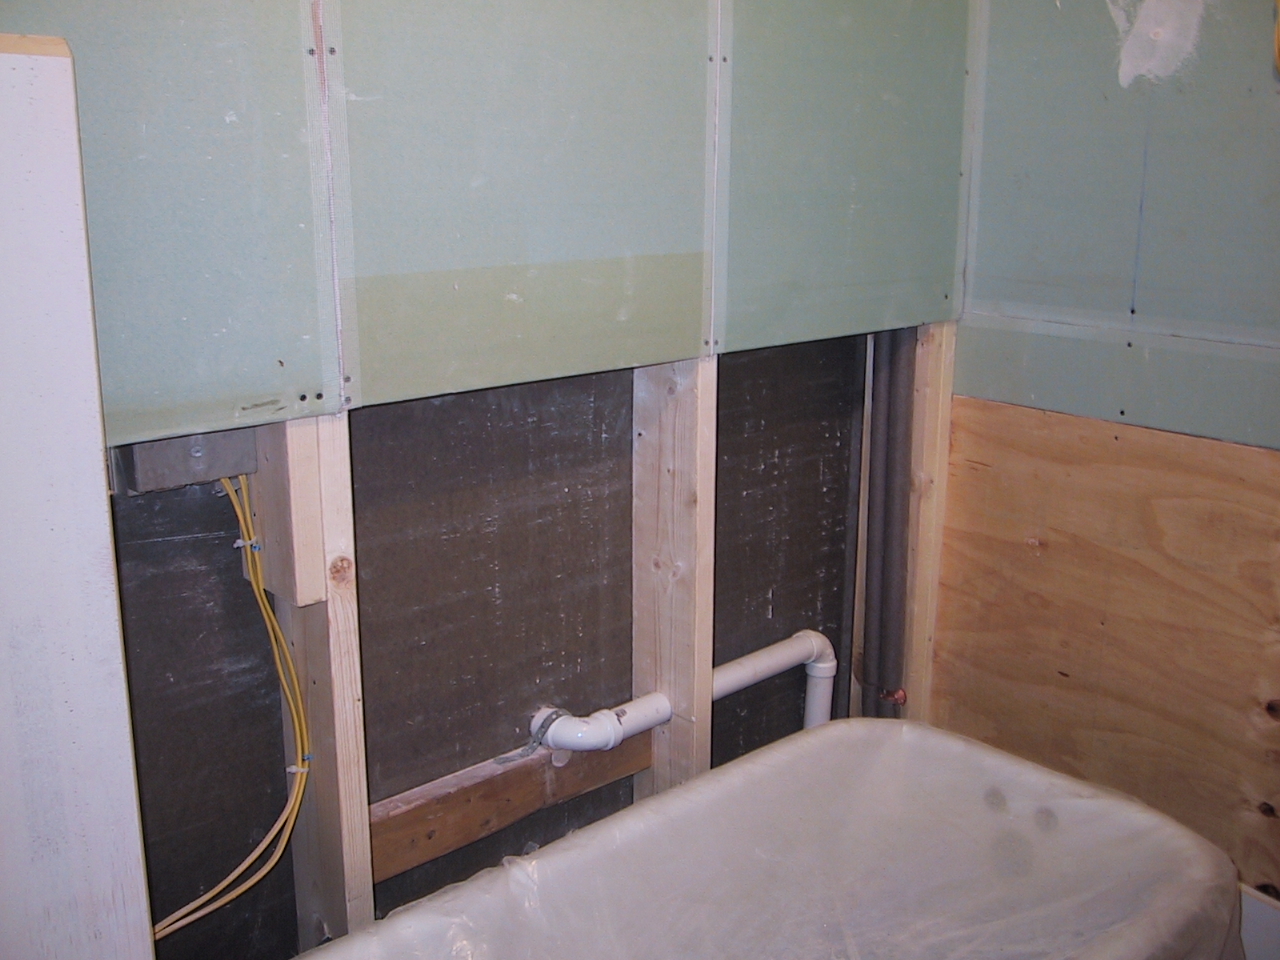
Next we installed 4” polyurethane installation. This insulation was one of the best ideas we had, and, still to this day, the Studio remains cool in the summers and warm in the winters.
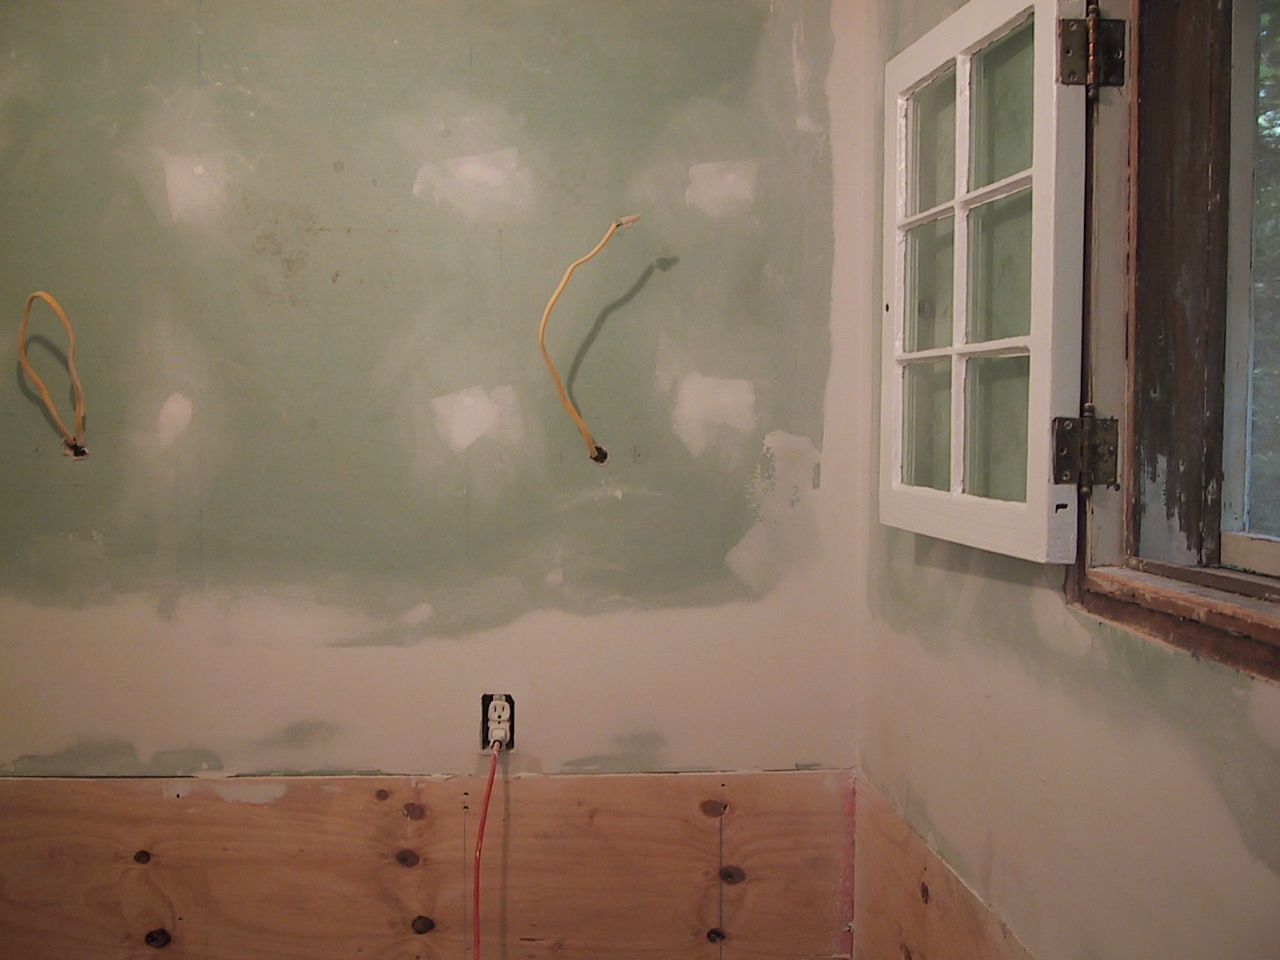
After the insulation, Todd put up brand new sheetrock. He did all of the nailing and plastering of the walls himself. I am pretty proud of him. Such a trooper and never complained!
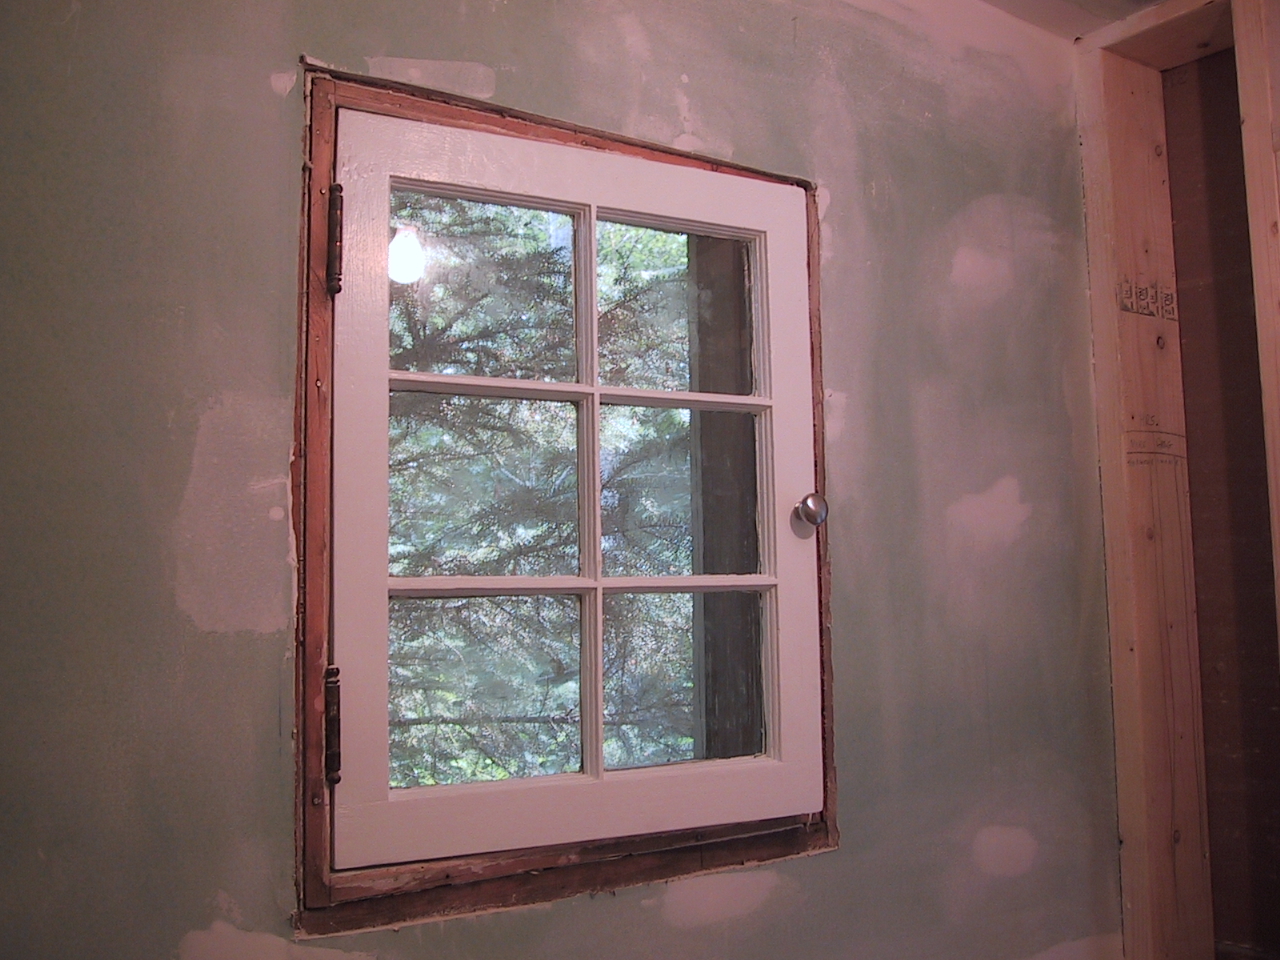
I scraped and refinished the old window by stripping it completely of paint, sanding and repainting it a fresh white, and attaching a cute brushed nickel knob that I found online.

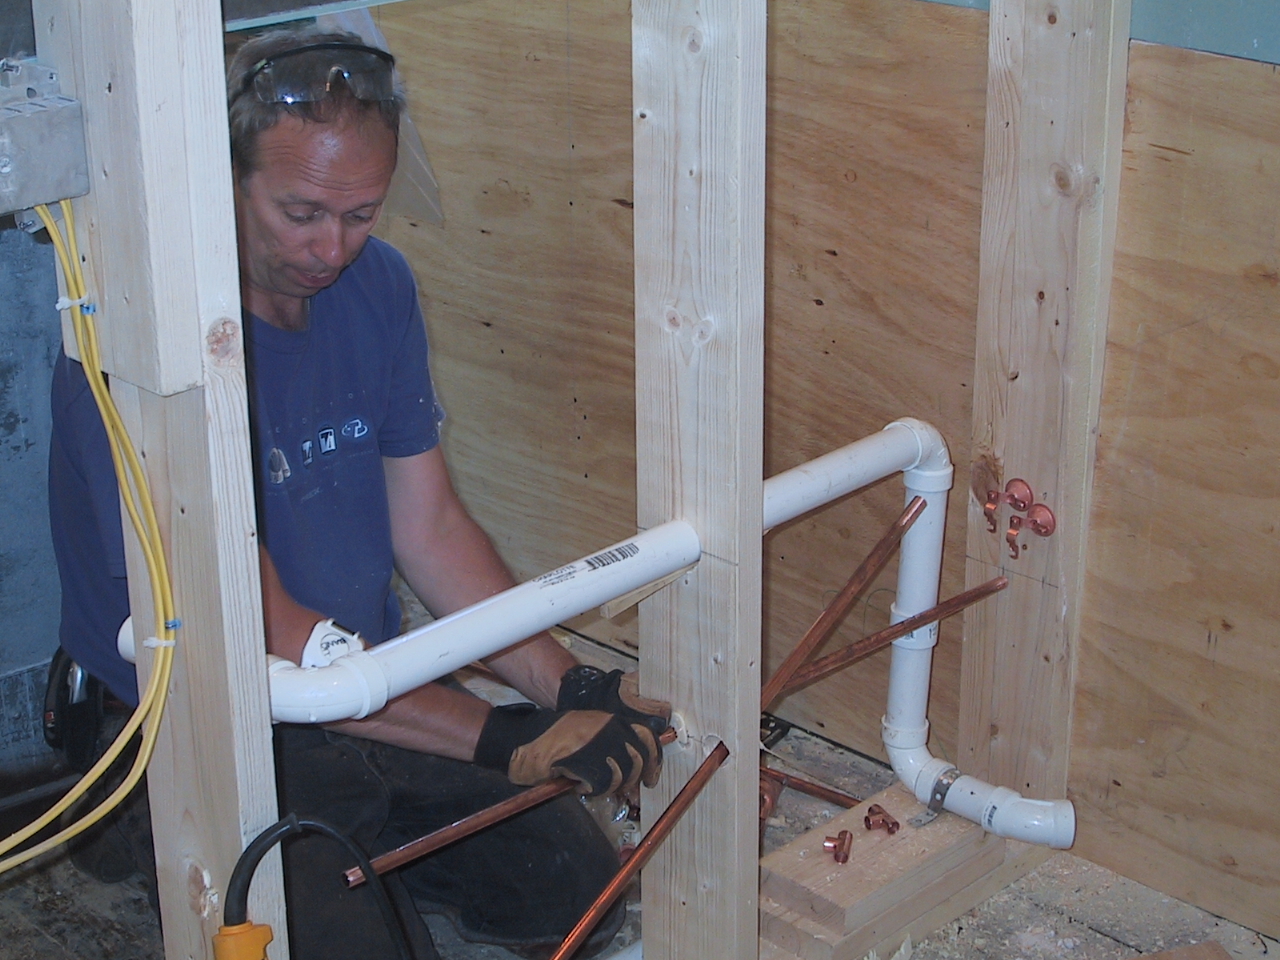
One of the most difficult aspects of the renovation was figuring out how to bring the water into the bathroom and reconfigure the plumbing. Luckily we hired a great plumber and he did a fantastic job.
Once we took care of the plumbing, we installed the new electrical wiring and lighting system.
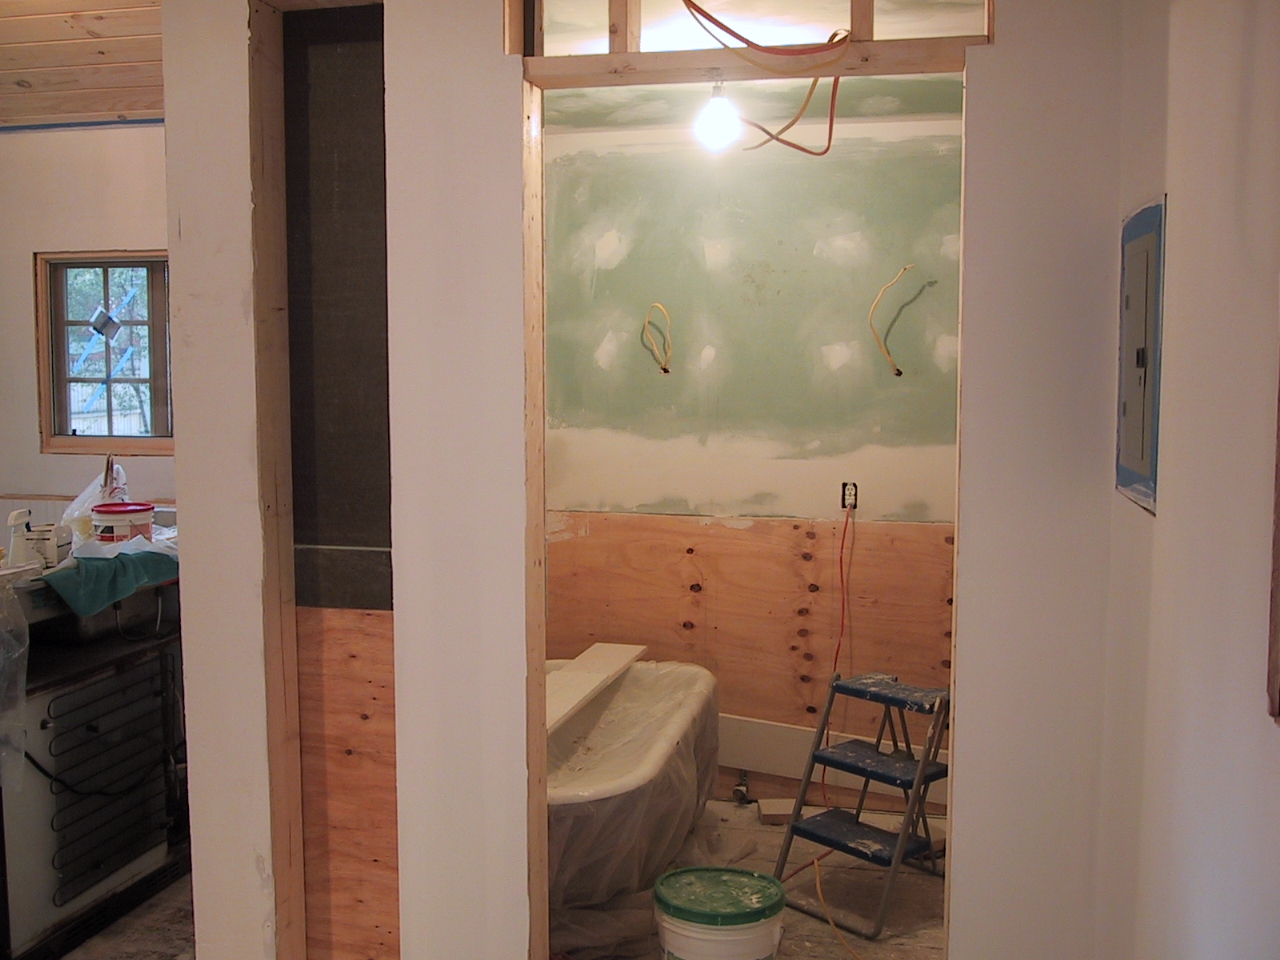
To finish the walls, we put in the wainscoting after painting it the same white as in the kitchen. It was important to install it before bringing any furniture back in, because it would have been hard to get behind the tub and sink had we brought them in first.
Then I got creative and painted the walls a water-resistant, light cream color. I like water resistant paint because it’s durable and lasts a long time, plus you can clean it. This color gave the space an open, inviting feel and worked well with the wainscoting. We were lucky that the floors were already in good shape once we stripped them. With a nice sanding and some polyurethane, they looked like brand new and still do today.
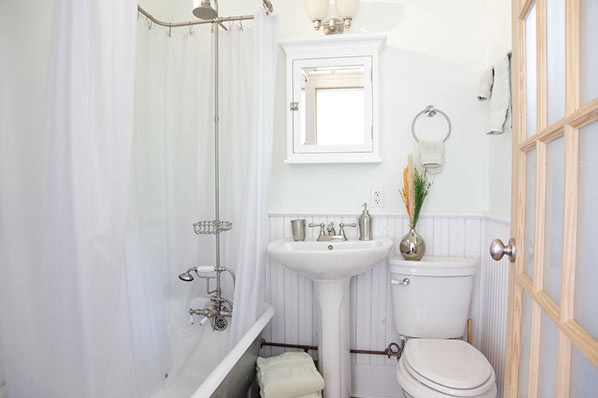
Finally it was time to bring in all the furnishings. I found a smaller tub on Craigslist that fit the space much better than the old one. I cleaned and restored it and silver-leafed the sides before adding fixtures from Vintage Tub & Bath, my favorite shop for bath accessories. Check out a detailed description of how to restore a claw-foot tub here.
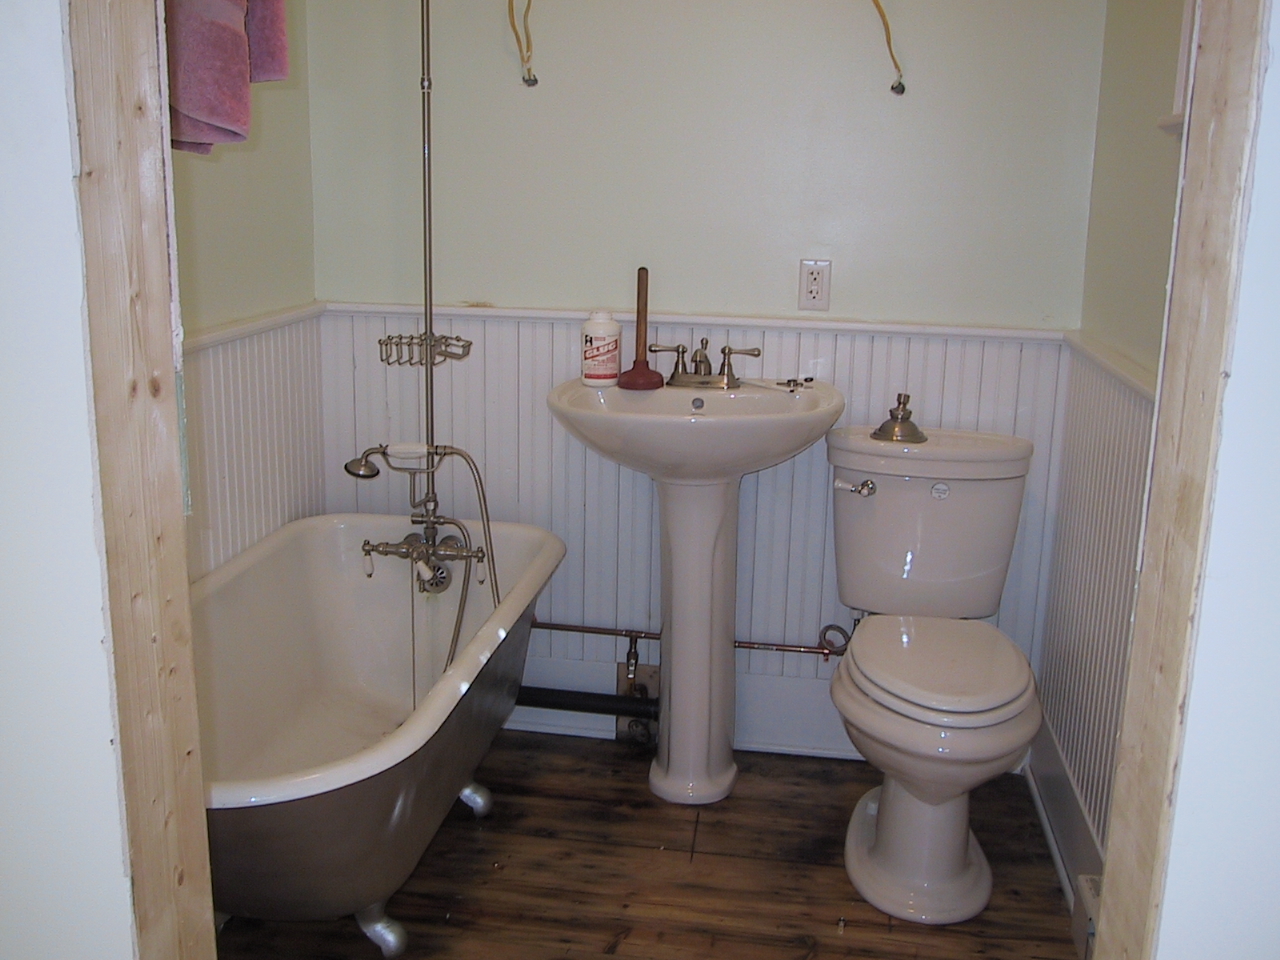
We got a pedestal sink and Kohler toilet from the Home Depot and used matching Vintage Tub & Bath fixtures on them to tie the space together even more. Then it was finally time to put in a gorgeous medicine cabinet and pendant lights from Pottery Barn.
We installed the new sixteen-light door, brought in the towels, shower curtain, and a few lively accessories and ta da! We completely revamped an ugly old bathroom that was falling apart into a clean, bright, luxurious, and functional space.
I have to admit, I love taking showers in this bathroom. Crank the heat and hot water and it’s like you’re in your own personal spa.
